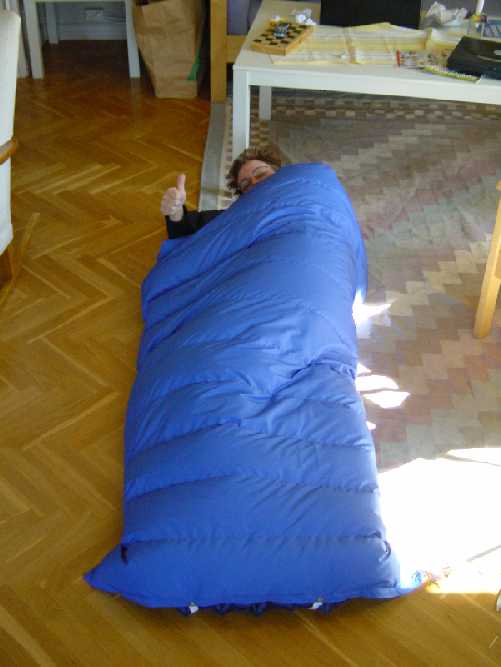

My down quilt is finished!
My down quilt is ready! This is how I did it – perhaps useful for you too! I’m sure you can use the same technique for vests or other down items, or if you want to make a down sleeping bag anyway…
Special thanks to Shelby (www.shelby.fi) where I bought the shell fabric. I really appreciated the opportunity to try a small piece of the fabric before buying it! For our Finish friends there is an English version to this article.
Questions or ideas? Feel free to contact me! boel.olin@telia.com
Why a down quilt?
A quilt is more comfortable than a sleepingbag if you sleep on the side. It is also a lot warmer to have all the down on top of you, the half of the sleepingbag that is underneath you doesn’t warm you very much…You need a good insulating sleeping mattress anyway. And if you make it yourself, you get the size and measures that fits you! If you gather down yourself, you get down of excellent quality, which is not always the case if you buy down quilts or sleepingbags.
Down
I’ve gathered down from shot birds. Most waterfowl are OK, but Canadian goose quickly became my favourite. It’s big, has a lot of down of excellent quality. The down is easy to pick, and comes off nice and clean. I have also used some Eider duck, Grey goose (?), Mallard and Golden Eye, but the Canadian goose is absolutely the best! You get approximately 30 g down from one Canadian goose. Since I didn’t have enough down, I’ve used down from an old sleepingbag, that wasn’t down proof any moore. The quality of my own down is lightyears better than that one, even though it is a good-quality sleeping bag of a well-known brand... I’m going to replace this with my own down, as soon as I get enough of it. The bad quality is probably the reason why the fabric isn’t down-proof any more, the feathers are sharp and will eventually pierce the fabric.
Pick down
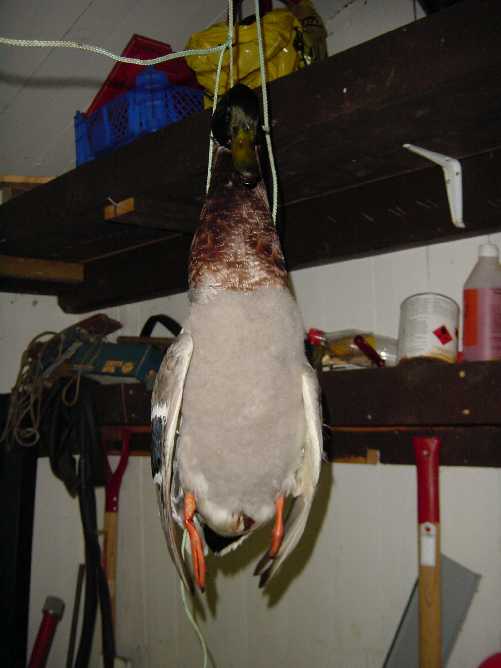
I hang the birds, pick off the feathers (that won’t be used) on the chest and belly, where the high-quality down is. After all the feathers are removed, the down is easy to pick off. I use a vacuum-cleaner with one leg of a nylon stocking inside the hose, folded around the edge and taped, and can easily pick the down and collect it with the vacuum-cleaner. The down comes off clean, I haven’t washed it any more, but if you want to do that it’s probably best to wash the quilt when it’s finished. You get a “sausage” of down, with the nylon stocking like a skin around the down. This” sausage” goes in a plastic bag into the freezer, to kill whatever little fleas that could be there. I’ve never seen any, but just in case… I don’t want a down quilt that itches!
Below is a Mallard, with the feathers taken off and the down left. Soft and warm!
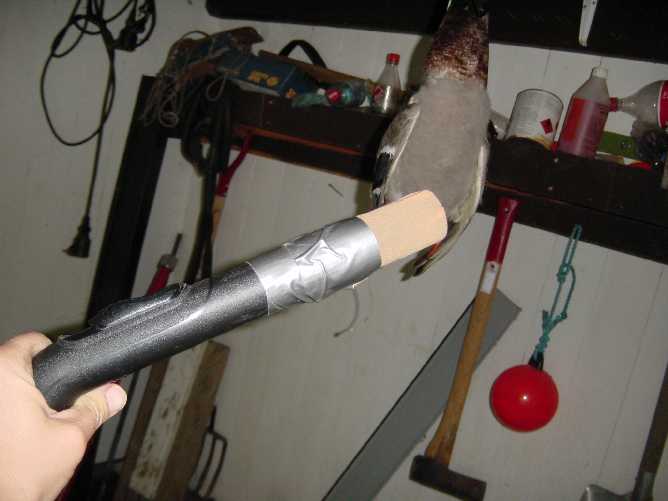
Vacuum-cleaner hose with nylon stocking inside, folded around the edge and taped. The foot is left on the stocking, so the “tube” is about 30 cm long and closed in the other end.
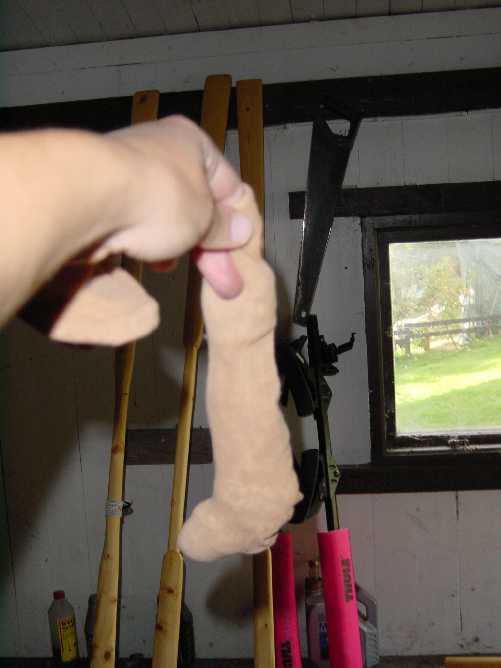
Nylon stocking with down inside, taken out from the vacuum-cleaner hose, ready for the freezer. This is all the down you get from a Mallard!
Material and techniques
Both fabric and seams have to be completely down-proof. I have used a polyester fabric from Shelby, “Alfa”, which seems to be working out really nice. I have made a small cushion filled with down, washed and tumbled it 10 times and it shows no signs of leaking down. I have used an ordinary sewing-machine, with a special needle and thin rayon thread, both intended for machine embroidery. The needle has a long and thin point, and makes smaller holes in the fabric. The stiches I’ve made are 1.5 mm long. I have heated the edges of the fabric to keep it from ripping, but it also works sewing zick-zack. (A little bit clumsier, though.) You can heat it with an open flame, but be careful so it doesn’t catch fire! Or use any kind of electric device, soldering iron (or maybe the barbecue starter?). The fabric has been very easy to handle, and stays in place when you sew. Obviously, you can’t use needles to hold the fabric together while sewing, but you can use tape if you want to. It is not always necessary though, you can just take a firm grip, place the edges against each other and sew.
Pattern
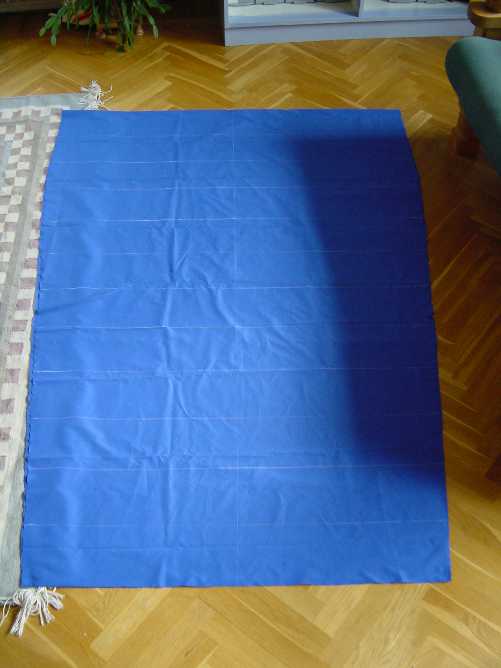
I’ve made a quilt 120 cm wide at the top, the same width for about 40 cm and the narrowing in to 90 cm at the lower end. I decided to make it 180 cm long, but didn’t think of that the quilt will end up shorter since it is not flat. If the quilt is to be 180 cm, the circumference of the quilt is more than 2 X 180 cm. Probably mostly due to the fact that I didn’t compensate in the upper end for the quilt to be 6 cm thick. The quilt ended up 172 cm… No big damage done though, but I’m glad I tried to make it a little longer than necessary. It’s nice to pull the quilt up over your head on cold night!
I drew up the pattern on a regular writing paper, and then drew it directly on the fabric, without making a full-scale pattern. I marked it with a tailors-chalk, and drew all seams out directly on the back side of the quilt. I also marked where the “walls” between the canals were to be. I allowed for 3 cm extra at the sides, but that depends on how you want the sides… I’ve made a small edge without down, where I’ve placed buttonholes for attaching elastic ribbons that goes underneath the mattress and keeps the quilt in place.
Canals
You need to make canals, so the down will stay in place. I made them 15 cm wide (seen from the side), but I only made them horizontally, not vertically. It works out fine for a quilt 120 cm wide, but if you’re for some reason making a quilt a lot wider than 120 cm you need to divide each canal into two parts. It’s a lot harder to sew, and I recommend that you avoid it.
If you make canals by simply sewing the bottom layer fabric onto the top layer, the quilt will be 0 cm thick where the seems are, and that will be cold…Therefore, you need to make “walls” between each compartment.
I made these walls from the same fabric as the rest of the quilt, 6 cm wide (or, rather, 6 cm high when the quilt is laying on the floor) which means the quilt will be 6 cm thick. This gives a quilt that will be comfortable even for a notorious freezer at temperatures down to 0°. I think this is good for spring and fall, but if the temperature falls well below zero, you can use a thin summer-sleepingbag underneath the quilt. I plan on making another quilt, 3 cm thick, that can either be used alone in higher temperatures (summer), or buttoned together with this one on early spring/late fall.
Sew the walls in one by one starting with the one at the top end (which is where the fabric folds). Sew it on to the top layer and then to the bottom, continue with the next one 15 cm further down. When all the walls are in place, sew the lower end together, and one side, and then stuff the down in. Sew the last side when all the canals are stuffed.
Stuffing
I had lots of problems figuring out how to weigh the down. It turned out it’s not really a problem at all. Because you don’t know how much down you need anyway, that depends on how warm you want the quilt to be, and the quality of the down. The quality differs a lot between different bird species, and between different parts of the bird’s body. I didn’t weigh at all, I stuffed the down into the canals, one at a time, sealed the canal with tape and went on to the next one. When they were all done, I shook the quilt carefully, laid it out on the floor and let it rest for a few minutes. Then you can easily see if any of the canals need more down, or less. You don’t have to put the same amount of down in all the canals, put some extra where you know you often freeze, over feet or hips. And remember that since the quilt is narrower at the bottom, you have to figure out how much down you need per square centimetre (or cubic cm, if the material is not supposed to be the same thickness all over) if you’re going to try to weigh it.
The stuffing procedure wasn’t half as bad as I had expected. Take the nylon stocking from the freezer, take a portion of the down with a firm grip by your fingers and put it into the canal. Nice and easy, and the down will fall down into the quilt. This gives you a good opportunity to feel with your fingers if there are any feathers left, they should be removed! Feathers have a sharp end and will risk piercing the fabric so the down can escape. What I’m really saying is that there will be down all over the room, you’ll get that snowy Christmas feeling and find yourself humming Jingle-Bells. It doesn’t take much down to look like a snow storm. But it’s not a big problem, just be sure tot have the vacuum-cleaner at hand! If too much of the down escapes, just put the nylon stocking back into the vacuum-cleaner hose and carefully catch it again. Down is very easily caught with a vacuum-cleaner, just remember: small and slow movements, don’t stir around because that will just create a snow storm!
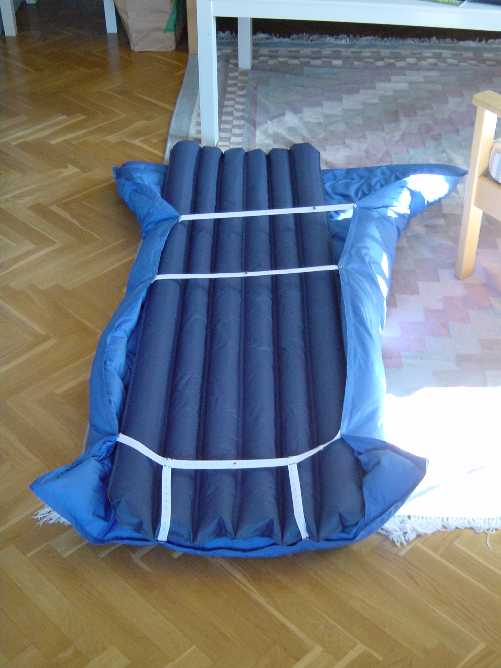
I’ve put buttonholes in the lower end and in the sides, where I attach an elastic ribbon that goes under the mattress and keeps the quilt in place even if I toss around in my sleep. In warmer nights, they can easily be removed and I can cool down by letting the quilt slip a little to the side. The elastics are the kind with buttonholes, and I’ve sown two buttons together with a fairly long neck of thread between them, and then I just button the ribbon on to the quilt. I’ve also made some spare dubble-buttons, in case I’d lose one or two…
Below you see the quilt turned up side down, with the mattress and the elastic ribbons.
I’ve also made a compression-bag, after the size of my kayak’s front hatch. The quilt is easily compressed, and nearly as small as my sleepingbag suitable for temperatures of about 10°...
My quilt weighs 1100 g and is 6 cm thick. The fabric alone weighs 475 g. It works with any kind of sleeping mattress, since the elastic ribbons can easily be re-buttoned at different widths. My mattress is 50 cm wide, but the quilt also works with an ordinary Therma-rest 60 cm wide. If you have a (much) wider mattress, you might need to make the quilt a little wider too. Always measure for yourself!
Am I satisfied with the result?
Yes, definitely. I’ve slept under my quilt in my tent outside on a cold April night, temperatures around 0°. I was warm and comfortable all night with a minimum of clothes on. I did wear a hat, but the quilt is long enough to pull almost over my head and cover the face with just a small breathing hole. It is big enough to sweep around you in the top end, it stayed in place and the cold didn’t get in.